Unveiling the Magic: Setting Up Your AngelsHorn H019 Turntable in 6 Easy Steps
Introduction:
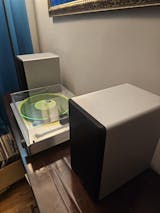
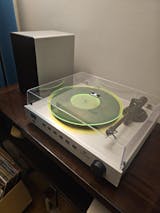
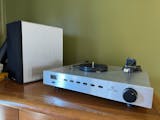
Welcome to the world of AngelsHorn H019 – where vintage meets modern in perfect harmony! Setting up your H019 turntable is a breeze, and we're here to guide you through the process step by step.
Step 1: Install Drive Belt Begin by adjusting the belt to the mid-level of the platter using the belt hook. This ensures a perfect foundation for your musical journey with AngelsHorn.

Step 2: Put Belt on Motor Shaft Turn the platter several times to confirm that the belt is correctly aligned. This simple yet crucial step ensures optimal performance.

Step 3: Balanced Tonearm Achieve audio perfection by balancing the tonearm. This step sets the stage for a flawless playback experience on your H019 turntable.

Step 4: Counterweight Setting 0g Keep the counterweight still and rotate the dial until "0" aligns at the top. This baseline adjustment lays the groundwork for precise tracking.

Step 5: Counterweight Setting 3.5g Fine-tune your H019 experience by setting the counterweight to the recommended 3.5 grams. This ensures optimal stylus pressure for your vinyl records.

Step 6: Turn On the Turntable With everything set up, it's time to bring your AngelsHorn H019 to life. Move the cartridge to your desired position, lower the lift rod, and let the music flow.

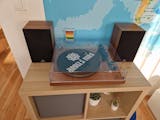
Bonus Tip: Musical Accompaniment Enhance your setup experience with the soothing sounds of "Big River" by Telecasted – the perfect soundtrack for unveiling the magic of your H019 turntable.
Conclusion: Congratulations! You've successfully set up your AngelsHorn H019 Turntable. Now, sit back, relax, and let the captivating blend of vintage warmth and modern precision enchant your ears.
For a visual walkthrough, check out the setup tutorial on YouTube.
Ready to embark on a melodic journey? Explore the full potential of your AngelsHorn H019 – where every note is a celebration of music.




Where is the needle?
Laissez un commentaire